If you need to upload documents to complete your enrollment or if you are asked to provide documentation to validate an event or information, the steps below will walk you through how to upload your files to Your Health Idaho.
Common scenarios in which you may need to provide Your Health Idaho with documents:
- To validate your eligibility for a Special Enrollment Period when you experience a Qualifying Life Event.
- To validate your eligibility for marketplace coverage or an Advanced Premium Tax Credit. This is known as a Data Matching Inconsistency.
- To send other files unrelated to the validation processes above.
Uploading documents for Qualifying Life Events
You may be asked to upload documents to validate a Qualifying Life Event when you apply outside of Open Enrollment and are seeking Special Enrollment Period. The steps below outline how to upload documents to your account for a Qualifying Life Event.
- Log into your account.
- From the “My Dashboard” section, click Confirm Event and Shop.
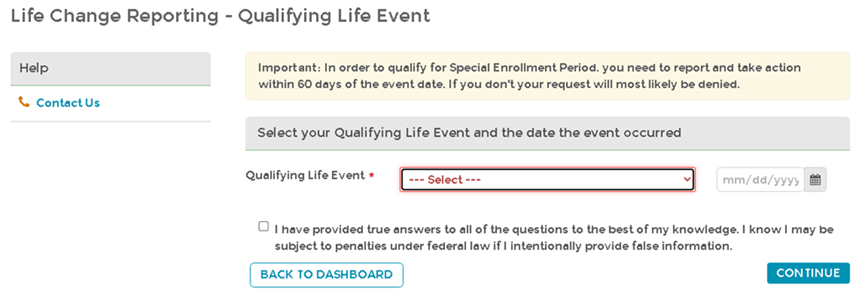
- Select the appropriate Qualifying Life Event from the drop-down and the date it occurred, then click Continue.
- NOTE: If you don’t have a Qualifying Live Event or don’t need to make changes to your enrollment, select the option “None - I don’t have a qualifying life event” from the dropdown.
- NOTE: If you don’t have a Qualifying Live Event or don’t need to make changes to your enrollment, select the option “None - I don’t have a qualifying life event” from the dropdown.
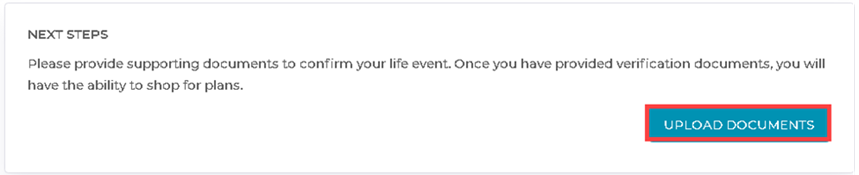
- From the Dashboard, click Upload Documents.
- Click Choose this next to the document type(s) to begin the document upload(s).
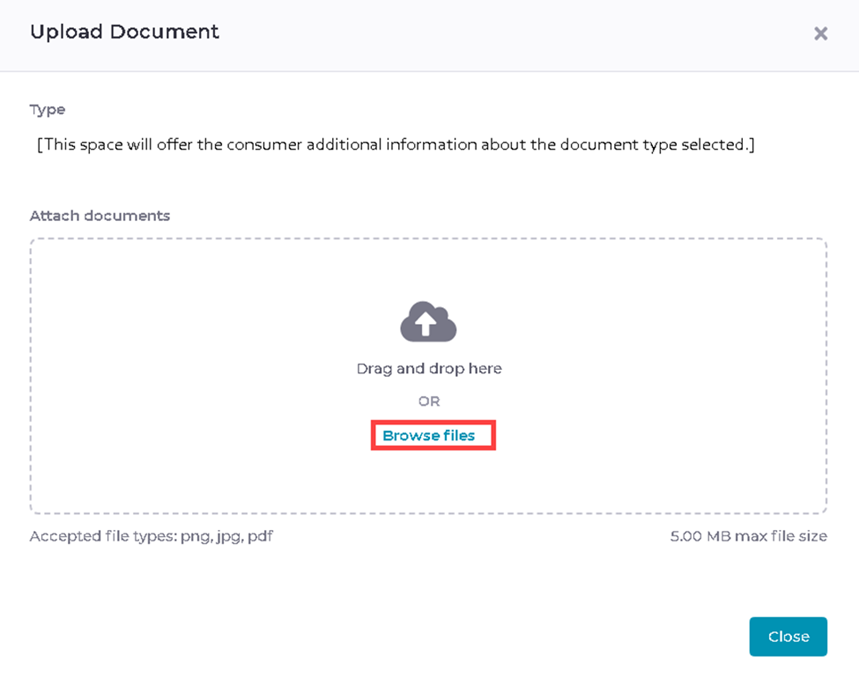
- From the upload document pop-up, you can drag and drop a file, or use the file explorer to select a document on your computer by clicking Browse files. You can upload a PNG, JPG, or PDF file up to 5 megabytes in size.
- Once you have finished adding all the required documents, click Submit Documents.
- NOTE: You will be unable to click the "Submit Documents" button until each request has a document attached. If you are unable to upload a required document, please contact customer service for assistance.
- NOTE: You will be unable to click the "Submit Documents" button until each request has a document attached. If you are unable to upload a required document, please contact customer service for assistance.
- Allow up to 10 days for documentation verification.


Uploading documents for Data Matching Inconsistencies
You’ll be asked to upload documents for a Data Matching Inconsistency if your information doesn’t match one or more of the federal databases we validate it against. The steps below outline how to upload documents to your account for a Data Matching Inconsistency
- Log into your account.
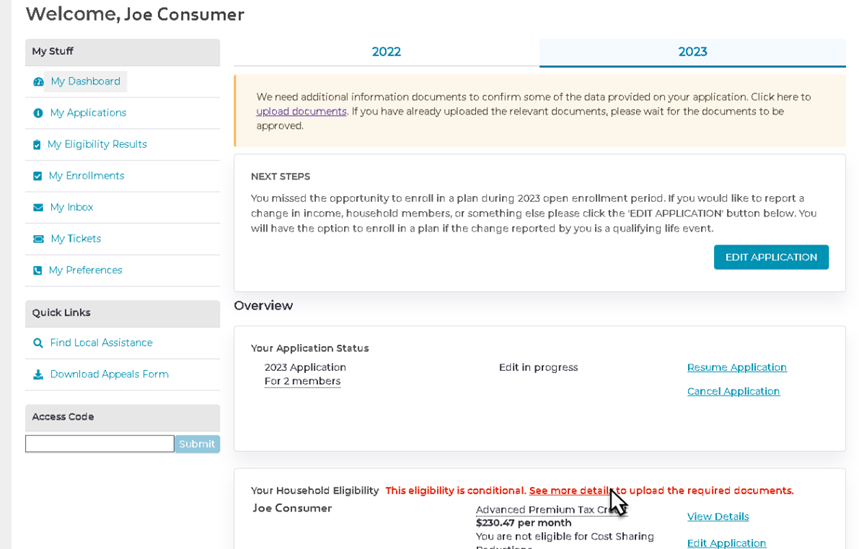
- From the “My Dashboard” section, in the "Your Household Eligibility" tile, click the red See more details link .
- Verify you are on the "Applicant Verifications" tab.
- NOTE: You may see multiple tabs if you have both Qualifying Life Event document requirements and Data Matching Inconsistency document requirements.
- Review the event/items with a red exclamation point (needs documentation verification). Click the + symbol to access the document upload page and view accepted document types.

- Allow up to 10-days for documentation verification.


Sending documents to Your Health Idaho
If you need to send a document unrelated to our validation process, like a completed form, you can use the ticketing system. The steps below outline how to send your file to us via a ticket.
- Log into your account.
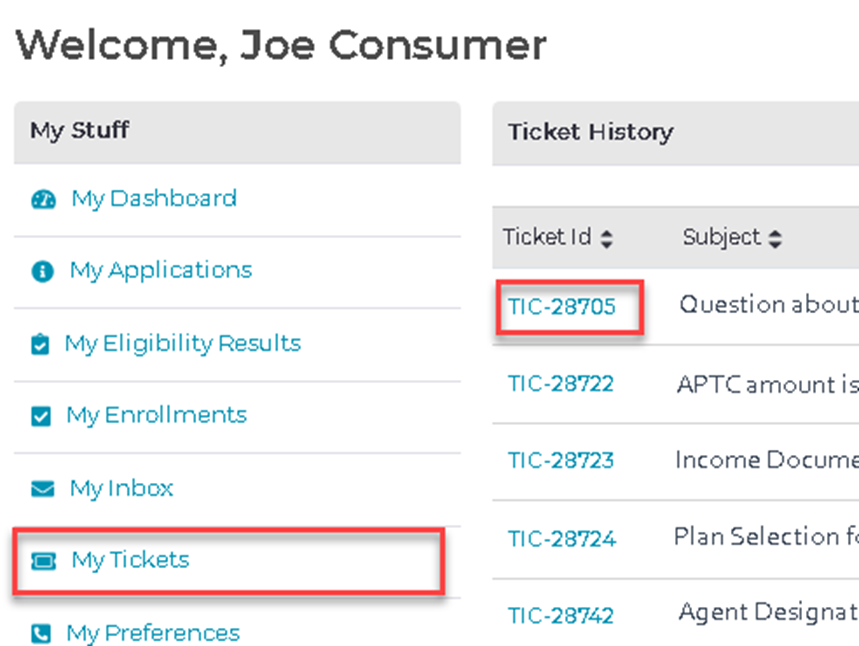
- Click My Tickets.
- Locate the Ticket ID you wish to upload a document to.
- TIP: If you don't have an open ticket to message from, click Submit New Ticket. Then, choose the Support Request > Document Verification ticket type.
- TIP: If you don't have an open ticket to message from, click Submit New Ticket. Then, choose the Support Request > Document Verification ticket type.
- Click the Add Attachment button (Chose files if you created a new ticket), locate the file and attach it to your ticket.
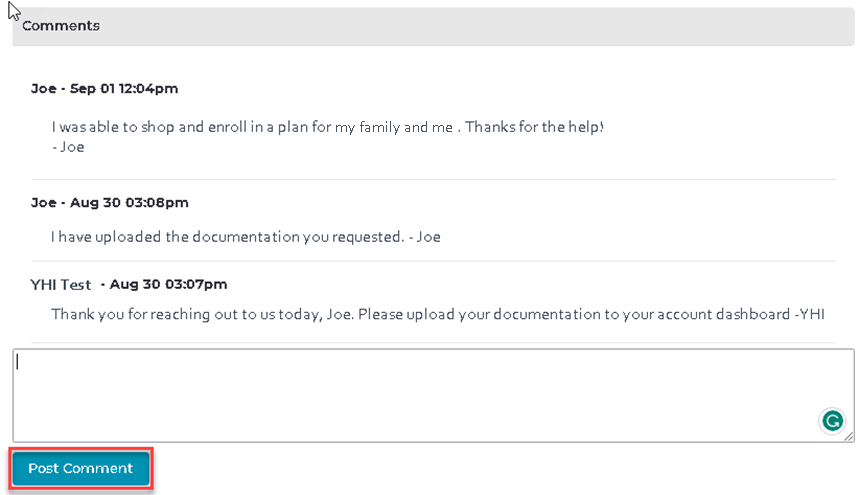
- Include a brief message describing the reason for your document upload.
- When finished, click Post Comment. (Submit if you created a new ticket).
- Allow up to 3 days for a response.

